
The cake did taste rather delicious once finished and, despite spending most of the day cutting, sticking, rolling, spreading, mixing and measuring and covering just about everything (including my camera) in icing sugar, we had a good laugh!
I'll be the first to admit that I am no Mary Berry (as much as I would very much like to be) so just use your imagination when looking at the final images of the cake as it had the potential to turn out looking rather amazing, as the idea was there, had it been made by a professional haha!
So, without further ado, here is everything we used and did in order to produce a Spring cake!
Ingredients:
Sugar
Flour
Eggs
Butter
Icing (we used ready to roll, however, feel free to make your own)
Decorations (we used Smarties and edible daisies)
Cake tins

Firstly, we measured out the sugar and butter

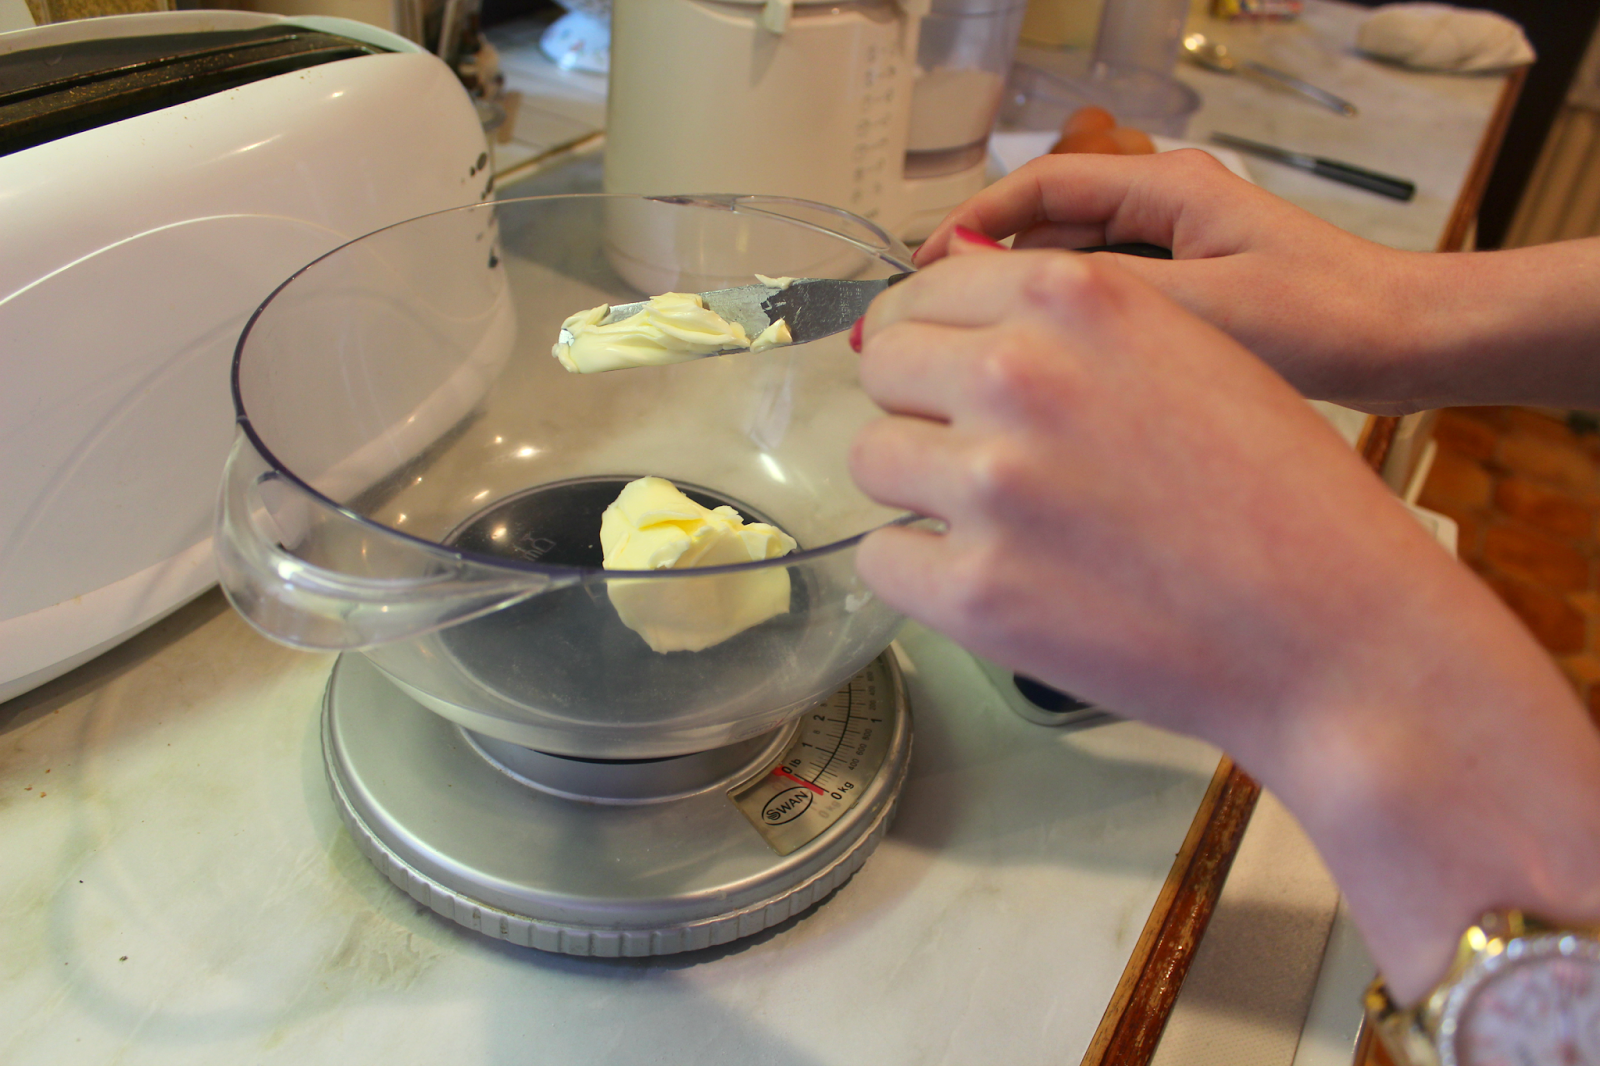
We poured them both into a mixer (you could obviously do this by hand if you prefer)

We measured out the self-raising flour

Sifted it to ensure there were no lumps or bumps

And cracked our eggs

We then mixed the sugar and butter together in the mixer, gradually adding the flour and eggs as we mixed, until everything was combined and looked more like a cake mixture. I gave it a slight stir with a spoon, just to smooth it out

We were then ready to grease our two baking trays

And evenly distribute the mixture into both

We then said farewell to our cakes, placed them in the oven and waited for them to bake. Whilst they are in the oven, you may choose to do something productive...

...or you can spell out you name in Smartries like I did. Whatever floats your boat!

Once the cakes were out of the oven, it was important to leave them to cool, which gave us plenty of time to prepare the decorations

I separated the Smarties into two bowls, one contained the yellow and orange, the other contained the rest which we would not be using

The green and white icing was all rolled out, so it was ready to be cut and placed onto the cake


Once the cakes were cool, we were able to spread jam on top of one for a filling (we used Raspberry)

We then stacked them together as a sandwich cake. We also cut off any uneven bits from the top and bottom to ensure the cake was totally smooth and would stand up straight!

Once we began placing decorations onto the cake, things kind of started to go downhill, just to forewarn you haha!
We measured the white icing first of all and covered the entire cake in it. We then cut off any excess, which didn't need to be neat, thankfully, as the bottom was going to be covered anyway

With the green icing, we cut it into two strips and wrapped them around the bottom to act as grass.
We then cut eight smaller, thinner strips of icing and tucked them underneath, pointing upwards, for them to act as stems


We added wafer daisies on top to complete the flowers

We were almost finished now and so just had to work on the top of the cake.
We rolled out the yellow icing

Used a cutter to create the perfect circle

And placed it in the centre of the cake, to act as a sun.
We then proceeded to alternate the yellow and orange Smarties, which we used as rays

And that was our cake complete! All that was left to do now was to cut it and enjoy it!


Have you done any baking recently? <3
Love, Emily :) xx

No comments:
Post a Comment